Kim Kardashian’s Sleek Middle Part Hairstyle
Written by Shopify API on
Last updated on
Last updated on
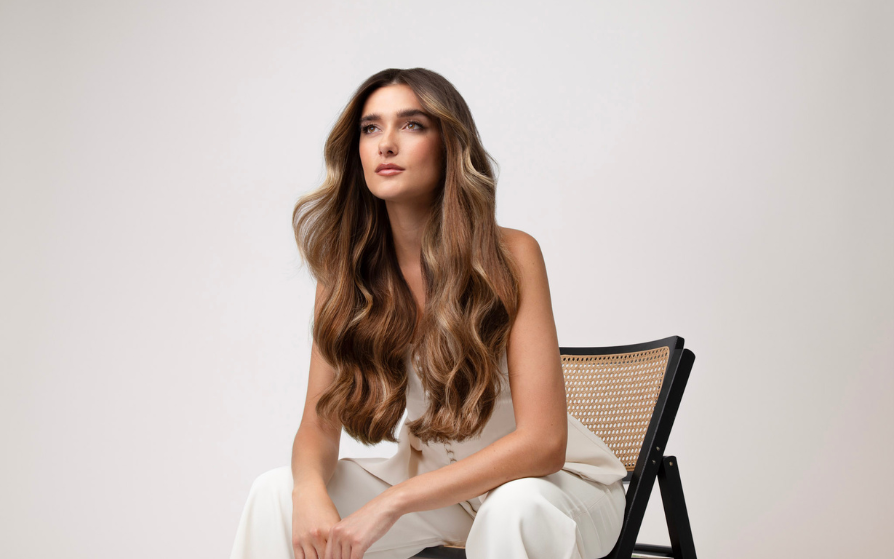
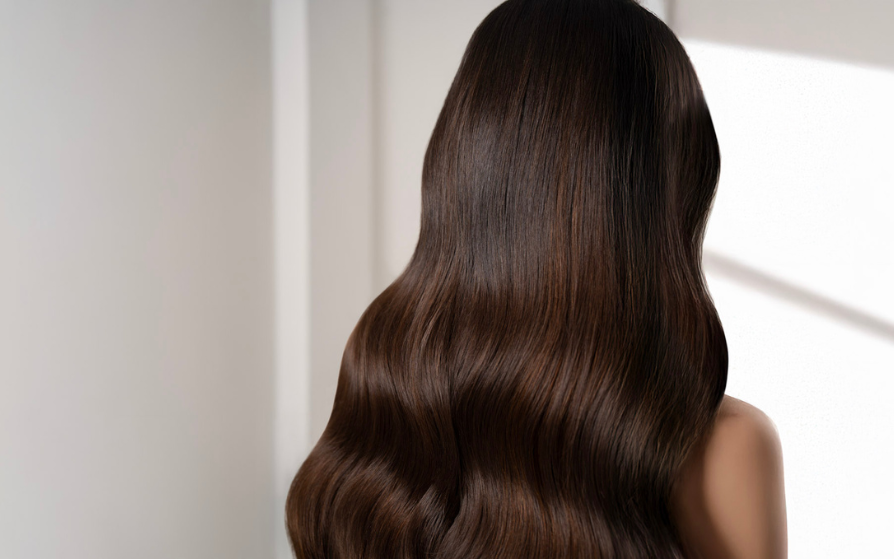
 If you follow Kim Kardashian’s hairstyles as closely as we do then you’ll know that she’s been wearing her hair in a perfect middle part and super sleek for the longest time. It’s such a classic look but it’s having a major moment right now and we’re totally obsessed with it! After scouring the internet we feel like we’ve figured out the best way to nail this hairstyle and it’s way easier than you might think...

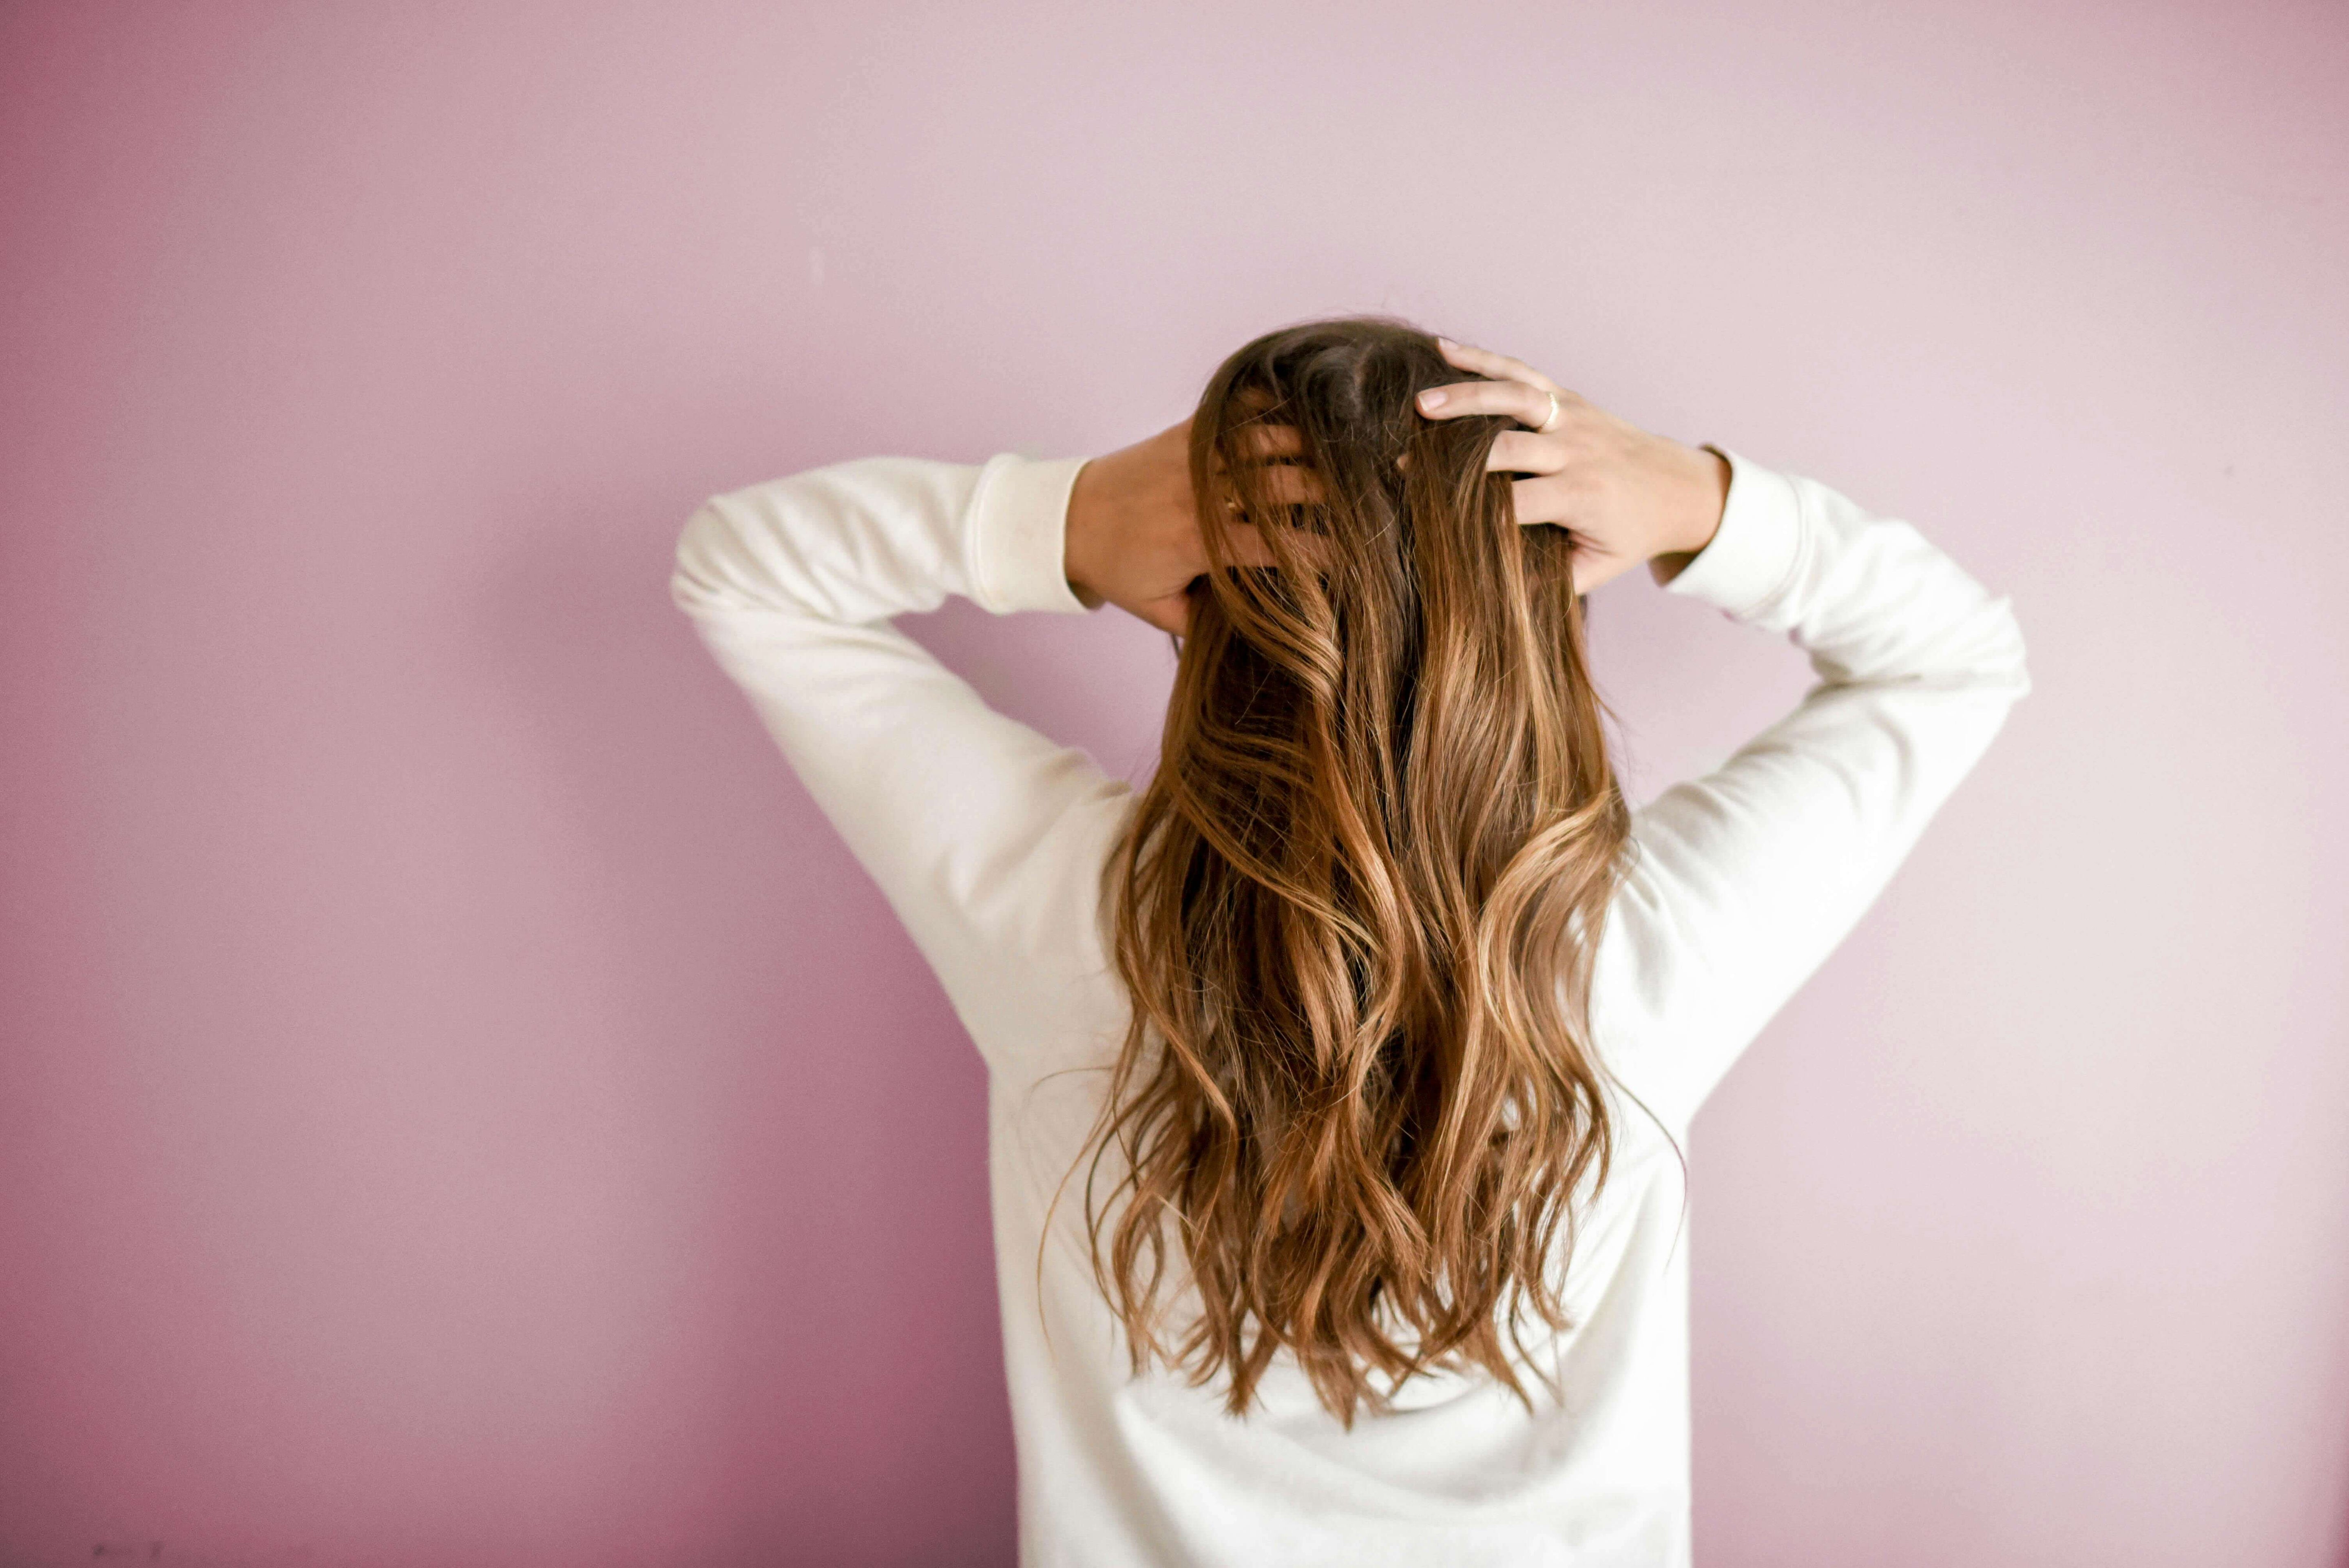
Step 1: Find Your Perfect Parting
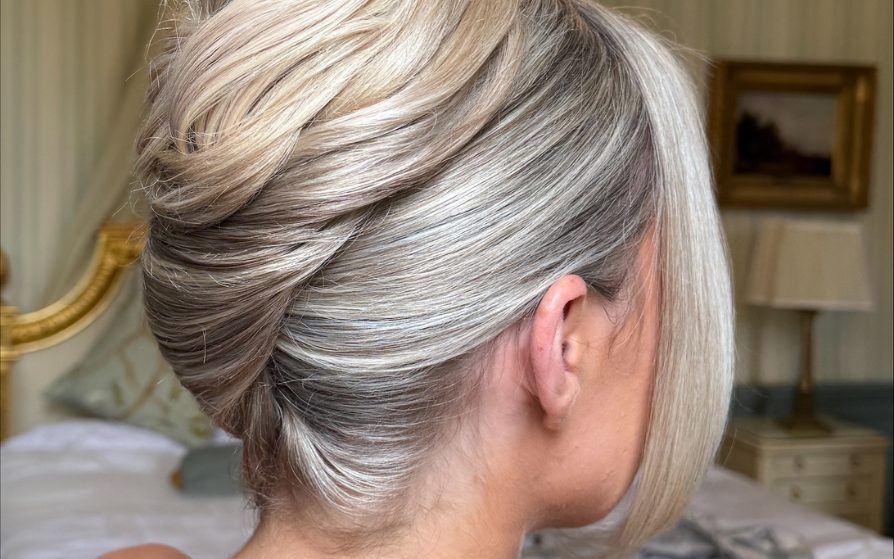
To start this look it’s really important that you know how to get a perfect centre parting. You want it to sit bang in the middle of your face so that your hair is super symmetrical and perfectly frames your features. To find the right spot just draw a line with your finger from the centre of your nose up to your hairline. Once you’ve found this spot you can then use a comb to draw a straight line back towards the crown of your head. Done!
Step 2: Blow Dry
Rather than trying to straighten your hair into place it’s a way better shout to blowdry it first. This will help to set your strands in position to give your look way more staying power and loads of shine. For a really glossy finish we’d recommend using Colour Wow’s Dream Coat hairspray on your hair first. It adds loads of shine, is humidity resistant and will help to hold your blowdry in place for days. Once you’ve applied this you then want to blowdry your hair in sections from the nape of your neck using a round brush. Make sure to attach the concentrator nozzle to your hairdryer too so that you can blow dry down your hair and smooth the cuticle. This is what will give you that silky smooth finish just like Kim.
Step 3: Straighten Your Hair
Once your hair is dry you can then start straightening it to really perfect the look. It’s best to work in small sections for this and to use a comb in front of the straighteners to avoid any tangles. If you’re wearing your M+B hair extensions it’s best to clip them in now and straighten them along with your natural hair after you clip in each weft. To copy Kim’s super long locks we’d go for our Deluxe or Superior Set in the length 24-26”.
Step 4: No Bend Hair Clips
If you have a cowlick or an uneven parting and are struggling to get it flat then you need to get some nobend clips! These are flat hair clips that stylists use all the time to set the hairline in place for that super sleek look. All you need to do is clip them along your hairline as soon as you’re done straightening so that the hair can cool in place. You can use as many as you like but try to get the first one as close to your parting as you can to avoid any bumps. Alternatively, if you don't have any to hand you can do what we did and repurpose the card in your M+B box to hold your hair flat. It works just as well and is a great hack if you're on the go and don't have all your hair tools with you.
Step 5: Use A Smoothing Balm
Smoothing balms are so useful for sleek looks as they tame flyaways and help to add loads of shine. One of our favourites is the Tigi Bed Head After Party Serum as it makes your hair look really healthy without weighing it down. All you need to do is apply a pea sized amount onto your hands, work it together and then smooth it down the lengths of your hair.
Step 6: Toothbrush Hack
To get a perfect finish we love using the toothbrush hack to tame any stubborn flyaways and it’s a favourite of Kardashian hairstylist Jen Atkin. All you need to do is spray your toothbrush with some hairspray and gently smooth it down your hair until all the lumps and bumps are gone. This gives you a totally perfected finish which is key to nailing the sleek look and will make a big difference.
Step 7: Use Root Touch Up Spray
Kim K’s hair always looks super thick but if yours isn’t then you can totally fake it with some root touch up spray. Start by taking out your no bend clips and then apply it directly onto your parting to mimic the appearance of thicker hair. If you have thin hair then your parting will be way more visible so by spraying the root touch up spray directly onto your part it’ll help to make your hair look a lot thicker. If you don’t have any to hand then eyeshadow works just as well as long as you have one that matches your hair colour. We’ve got a quick tutorial here if you’re not sure how to apply it and you can use this for loads of different hairstyles.
Step 8: If You’re Struggling
If you’re struggling to get your parting right then you can pin the front sections behind your ears to hold them in place instead of leaving them down. Simply take a section about two inches thick, spray it with hairspray and comb it back behind your ear before pinning it in place using bobby pins. You can then repeat this on the other side to complete the look. And that’s how you get Kim Kardashian’s sleek, middle part hairstyle! Super easy right? And with your M+B hair extensions it’ll be super long and thick too! If you loved this tutorial then make sure to check out our Kim Kardashian waves video below that we think you guys will love :)More articles