These cookies are required for the website to run and cannot be switched off. Such cookies are only set in response to actions made by you such as language, currency, login session, privacy preferences. You can set your browser to block these cookies but this will prevent the site from functioning correctly.
These cookies allow us to measure visitors traffic and see traffic sources by collecting information in data sets. They also help us understand which products and actions are more popular than others.
These cookies are usually set by our marketing and advertising partners. They may be used by them to build a profile of your interest and later show you relevant ads. If you do not allow these cookies you will not experience targeted ads for your interests.
These cookies enable our website to offer additional functions and personal settings. They can be set by us or by third-party service providers that we have placed on our pages. If you do not allow these cookies, these or some of these services may not work properly.
Before + After Hair Transformation With M+B Hair Extensions
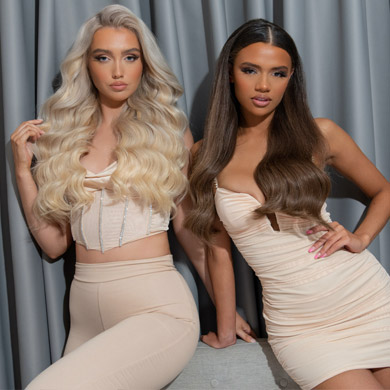
Before + After Hair Transformation With M+B Hair Extensions
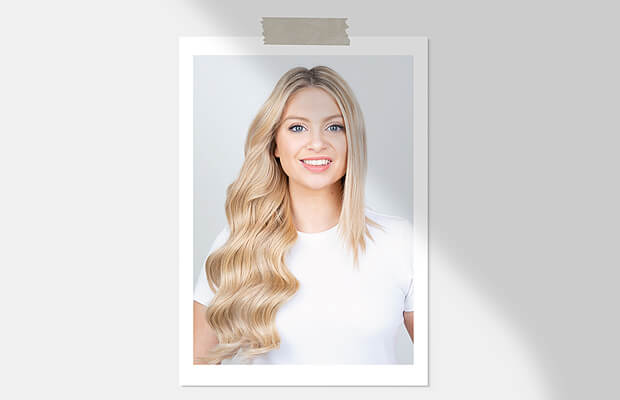
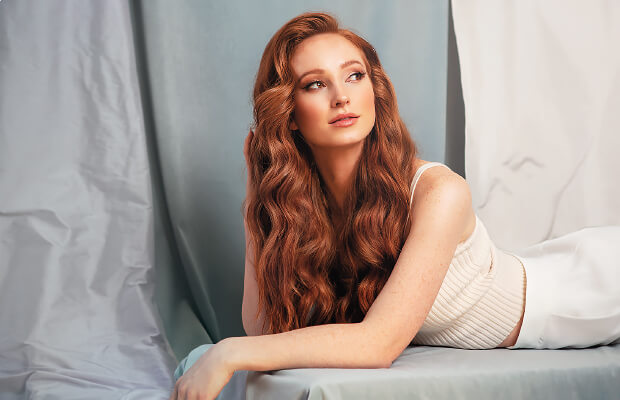
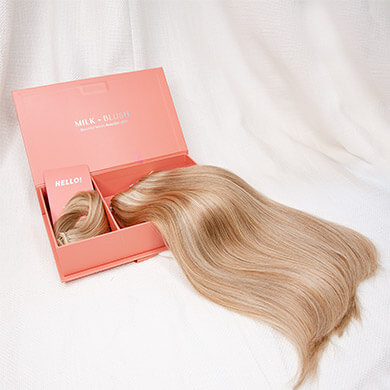
We know how much you guys love a good before and after so today we’re going to show you how to totally transform your hair using Milk + Blush hair extensions. These tips are really easy to follow and with them you’ll be able to create two looks: super sleek and effortless waves.
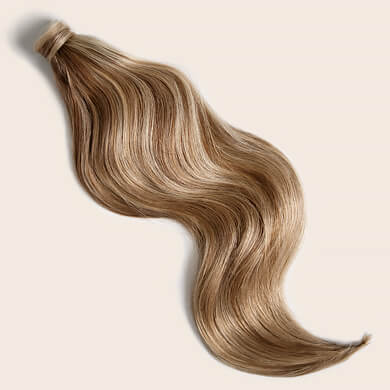
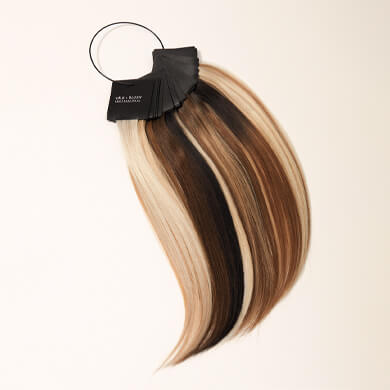
For this tutorial we used our 20-22” Luxurious Set in the shade Second Base to add loads of volume to our model Esme’s hair. Her locks are already super long but she loves using her set to bulk out her strands rather than to add lots of length.
Look 1: Super Sleek
This super sleek hair is giving us major Kim K vibes and will make your hair look really glossy and long.
Step 1
Start by clipping in your first weft at the nape of your neck and then spray the hair with some heat protectant. Next straighten your hair along with the extensions using a comb in front of the straighteners to remove any tangles. You want to repeat this process with all your wefts until you’re finished clipping in your set and all the hair is super sleek and smooth.
Step 2
Next apply a smoothing balm down the lengths of your hair to control any flyaways and reduce frizz. We love the Tigi Bed Head After Party serum because it’s really hydrating and adds loads of shine. We also saw Chris Appleton using it on Kim K in the Christmas card episode of KUWTK so it must be good!
Step 3
Smooth down your hair with hairspray and use the barrel to tame any flyaways rather than your hands. This will help to prevent your hair from getting greasy and will get rid of any static that could cause frizz. Hairspray is also amazing at adding loads of shine which is perfect for a sleek look.
Step 4
If you dye your hair like Esme then use some root touch up spray to recreate your natural root growth on your hair extensions. This will help to disguise the top of the wefts incase your hair parts so that no one will know you’re wearing extensions.
Look 2: Easy Waves
We love this hack for getting perfect waves and it’s a really easy technique you can use at home if you don’t have much time to do your hair.
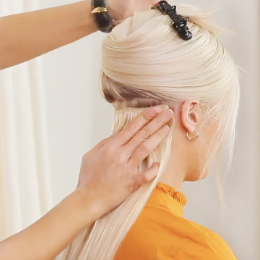
Step 1
Start by tying your hair in a low pony at the nape of your neck using an invisibobble to avoid creases.
Step 2
Curl your pony in small sections using a curling wand. You’ll need to curl all the hair in the same direction and hold each curl in your hand before you let it drop to give them extra staying power.
Step 3
Once you’ve finished curling all the hair spray your pony with hairspray and let the curls cool for 5-10 minutes. Our fave is the H&M This Works Session Hairspray as it gives a flexible hold and smells amazing.
Step 4
Once the curls are cool use a loop brush to gently loosen them for a more subtle wave and then take out your invisibobble.
Step 5
Add some shine spray to make your curls look super glossy and then brush through your hair again to really neaten up the waves. To finish add an extra dose of hairspray to hold everything in place. You’re done!


 This super sleek hair is giving us major Kim K vibes and will make your hair look really glossy and long.
 Step 1
Start by clipping in your first weft at the nape of your neck and then spray the hair with some heat protectant. Next straighten your hair along with the extensions using a comb in front of the straighteners to remove any tangles. You want to repeat this process with all your wefts until you’re finished clipping in your set and all the hair is super sleek and smooth.
Step 1
Start by clipping in your first weft at the nape of your neck and then spray the hair with some heat protectant. Next straighten your hair along with the extensions using a comb in front of the straighteners to remove any tangles. You want to repeat this process with all your wefts until you’re finished clipping in your set and all the hair is super sleek and smooth.
 Step 2
Next apply a smoothing balm down the lengths of your hair to control any flyaways and reduce frizz. We love the Tigi Bed Head After Party serum because it’s really hydrating and adds loads of shine. We also saw Chris Appleton using it on Kim K in the Christmas card episode of KUWTK so it must be good!
Step 2
Next apply a smoothing balm down the lengths of your hair to control any flyaways and reduce frizz. We love the Tigi Bed Head After Party serum because it’s really hydrating and adds loads of shine. We also saw Chris Appleton using it on Kim K in the Christmas card episode of KUWTK so it must be good!
 Step 3
Smooth down your hair with hairspray and use the barrel to tame any flyaways rather than your hands. This will help to prevent your hair from getting greasy and will get rid of any static that could cause frizz. Hairspray is also amazing at adding loads of shine which is perfect for a sleek look.
Step 3
Smooth down your hair with hairspray and use the barrel to tame any flyaways rather than your hands. This will help to prevent your hair from getting greasy and will get rid of any static that could cause frizz. Hairspray is also amazing at adding loads of shine which is perfect for a sleek look.
 Step 4
If you dye your hair like Esme then use some root touch up spray to recreate your natural root growth on your hair extensions. This will help to disguise the top of the wefts incase your hair parts so that no one will know you’re wearing extensions.
Step 4
If you dye your hair like Esme then use some root touch up spray to recreate your natural root growth on your hair extensions. This will help to disguise the top of the wefts incase your hair parts so that no one will know you’re wearing extensions.

 We love this hack for getting perfect waves and it’s a really easy technique you can use at home if you don’t have much time to do your hair.
 Step 1
Start by tying your hair in a low pony at the nape of your neck using an invisibobble to avoid creases.
Step 1
Start by tying your hair in a low pony at the nape of your neck using an invisibobble to avoid creases.
 Step 2
Curl your pony in small sections using a curling wand. You’ll need to curl all the hair in the same direction and hold each curl in your hand before you let it drop to give them extra staying power.
Step 2
Curl your pony in small sections using a curling wand. You’ll need to curl all the hair in the same direction and hold each curl in your hand before you let it drop to give them extra staying power.
 Step 4
Once the curls are cool use a loop brush to gently loosen them for a more subtle wave and then take out your invisibobble.
Step 4
Once the curls are cool use a loop brush to gently loosen them for a more subtle wave and then take out your invisibobble.
 Step 5
Add some shine spray to make your curls look super glossy and then brush through your hair again to really neaten up the waves. To finish add an extra dose of hairspray to hold everything in place. You’re done!
Step 5
Add some shine spray to make your curls look super glossy and then brush through your hair again to really neaten up the waves. To finish add an extra dose of hairspray to hold everything in place. You’re done!