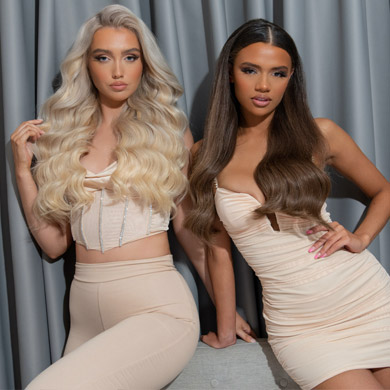
Glam Halloween Vampire Tutorial: Hair and Makeup

If you take Halloween as an opportunity to go full glam with your makeup look then our Vampire inspired tutorial will definitely be for you. We’ve paired some classic Hollywood waves with deep red makeup that is guaranteed to outshine everyone at the party.
To make sure we really nailed the look, we asked makeup artist Alyson Peacock to help us with this tutorial and she’s got all the tips and tricks you need to take it to the next level. So if you’re inspired to make maximum effort, then keep scrolling for a step by step tutorial…


To start the makeup look you need to prep your skin with a primer, this will help to smooth your skin to give you the best base for applying makeup. Once you’re done, you can apply your foundation using a brush to get an even coverage. Alyson used a full coverage foundation on Gabriella to create a super dramatic effect.


Next, you want to use a darker foundation to contour your face. You’ll need to concentrate this on your cheekbones and forehead and then use a fluffy brush to blend it in.


Once you’ve finished your contour you can then apply a concealer on your eyelid as an eyeshadow base.


Next, you want to apply a red shadow all over your lid working in circular motions. You’ll need to build this up on your eyelid to get a really deep colour while winging it out to the side to create a cat-eye shape.


Once you’ve finished, you then want to take the shadow under your eye to smoke out your lash line.


Now it’s time for eyelashes, Alyson went for a really full pair to add loads of drama to the look. It’s best to apply these with tweezers and then gently push them into the lash line until the glue sets.


Once the eyes were done, Alyson deepened the contour using a bronzer and a powder brush.


Now it’s time for brows! You’ll want to brush up the hairs with a spoolie before filling in your brows with a pencil. Alyson did hairlike strokes on Gabriella's brows to achieve a natural look that’s really flattering.


Every glam vampire needs a killer pout, so we’re finishing off the look with a bold red lip.
Alyson used a brush to apply this so that the lip line was really neat and worked in small strokes to get the best application.


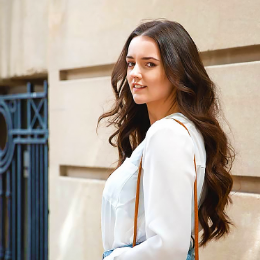
Now it’s time to start your glam Hollywood waves. It’s best to start these with wet hair and apply a moose from root to tip before blowdrying. This will help to add some extra volume and texture while giving your waves more staying power.

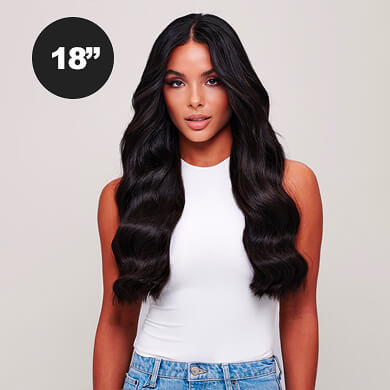
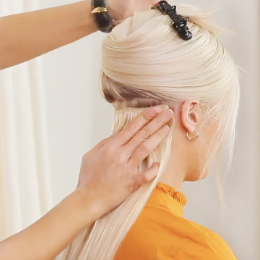
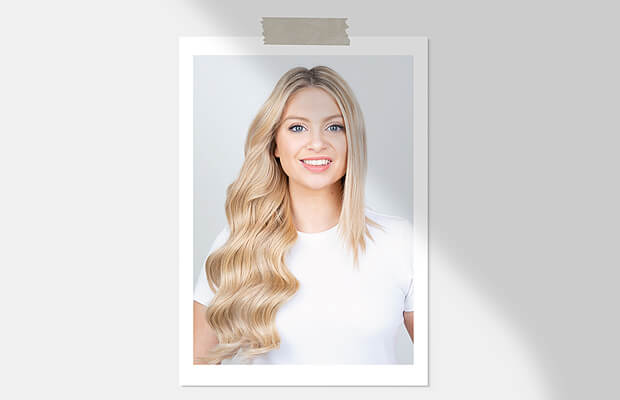
Once your hair is dry you can then go ahead and clip in your hair extensions. Gabriella’s wearing the 20-22” Superior Set in the shade She Stole My Look. It’s 220g, so it’s extra thick and perfect for creating really voluminous waves.

Next, you’ll need to comb your hair into a deep side parting so that you’re ready to start the curls. After sectioning the hair Alyson used the Cloud Nine Waving Wand to create a looser more relaxed wave in the hair. In order to create a classic Hollywood style you’ll need to curl all your hair in the same direction going towards the side your parting is sitting on. Alyson took quite small sections which will help to give the curls more volume and staying power.

Once you’ve finished curling your hair you’ll need to let it cool for 10-20 minutes before using a comb to break them up. You can then gently comb through the lengths to create soft uniform waves.

We’re using some gorgeous clips from the Justine Marjan Kitsch collection to hold back the hair on the one side. Once the clips were in Alyson used a tooth brush and some hairspray to smooth down any flyaways and to perfect the hair.
And you’re done! We love this Halloween look and it’s way more glamorous than a traditional costume. If you try this look at home be sure to tag us in your pictures on Instagram @milkandblush we love seeing how you recreate our tutorials.