Glam Halloween Cowgirl Hair and Makeup Tutorial

We’re so excited for Halloween here at Milk + Blush and to get you in the spirit we’ve created this glamorous cowgirl look that’s perfect for a party. We’ve paired some seriously glittery eye makeup with dutch braids that are perfect for any of you who want to rock a different vibe this year.
To take our cowgirl to the next level we asked makeup artist Alyson Peacock to help us out and to share her best tips and tricks. We love that this costume is way more fashion-forward than a pair of cat ears and so much more creative. So, if you’re as obsessed with it as we are, then be sure to keep scrolling for a step by step tutorial…


 Alyson started the look by applying a primer to Sophie’s skin. Primers help to create an extra layer between your skin and foundation giving you a perfectly smooth base that will hold onto makeup for longer.


As we’re keeping this look more natural, Alyson applied a light coverage foundation using a brush so that you can still see Sophie’s freckles. She then used a concealer around the under eyes, nose, forehead and jawline and to conceal any blemishes.


The next step is to contour your face to add some definition. As this is a Halloween look you can go as dark and dramatic as you like, so don’t worry about keeping it natural! Alyson used a darker shade of foundation to contour Sophie’s cheekbones and forehead before blending it in with a fluffy brush.


Now it’s time to add some colour to your eyelids! We decided to go for a darker eye using browns and burnt oranges to give it a pumpkin spice vibe. Alyson worked the colour around the crease of the eye in circular motions before bringing it down onto the cheekbones.

 Once the base colour is blended in you can then add a darker shade to the centre of the lid. Alyson patted on the shadow to get a more pigmented finish while winging out the colour to create a cat-eye shape.

 Next, you’ll want to take the same shade and use it under your eye to connect the colour. Alyson used a fluffy brush and took the powder quite low while working towards the inner corner of Sophie’s eye. She then completed the look with a slick of kohl eyeliner along the bottom lash line.


Next Alyson filled in Sophie’s brows before using a spoolie to brush up the hairs with a clear gel. We think a bushy brow look is perfect for a Zombie Cowgirl and it’s a great way to make your brows look thicker.

 You’ll need to set your makeup with a translucent powder to keep everything in place. Once this was done Alyson went over the top with a blusher to add more dimension to the look. You can use a fluffy brush for this and apply the powder on the apples of your cheeks.

 To complete the look Alyson added some glitter to Sophie’s eyelids using a small brush. You’ll need to build this up layer by layer until you have a thick, even coverage. Once you’ve finished, be sure to add layers of mascara to finish the eye makeup.


No Zombie Cowgirl would be complete with a bold lip! Alyson applied some liquid lipstick using a brush to get a really neat finish. You want to work it along the lip line first to perfect the shape before filling in the rest of your lips.


To start this look Alyson sectioned Sophie’s hair in half using a comb before twisting one side up out of the way. You’ll want to use the end of the comb to create a really neat line as this will make the braids look more polished at the end.

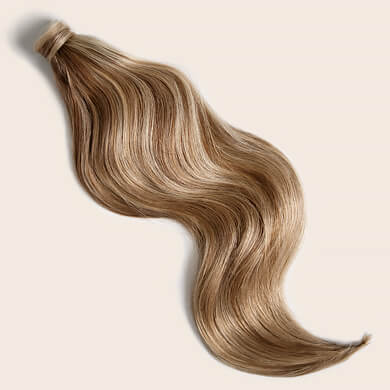
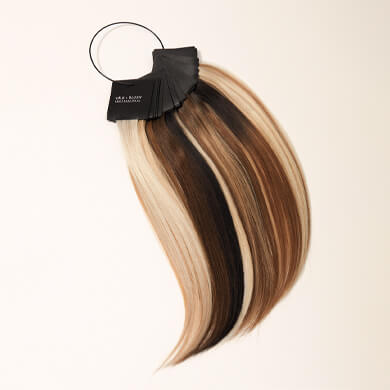
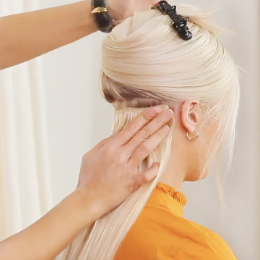
She then clipped in 3 of our 2 clip wefts in the middle of the section, after backcombing the hair to give the clips more staying power. As we used two shades we had extra wefts, but if you’re using a full set then clip in your two 2 clip wefts and one 3 clip weft instead.
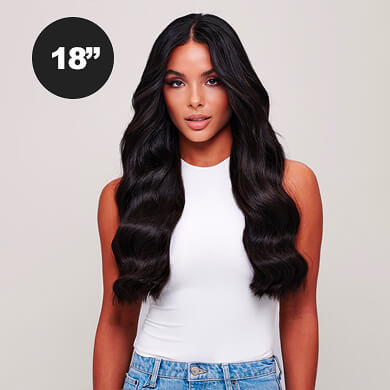
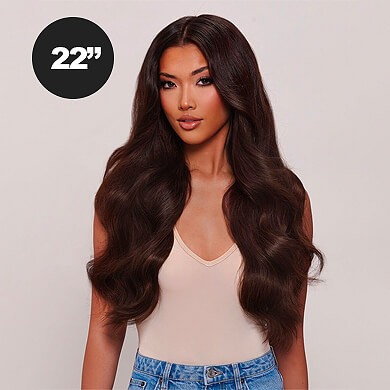
We're using two shades for this look, Surf’s Up and I Think We’re Alone Now to add extra dimension to Sophie’s hair. By alternating these shades as we clip in the wefts it helps to create a highlighted look in the hair and is a great tip for anyone who can’t find their exact match.
 Next, you want to brush all the hair back, making sure there are no knots or tangles before you start your braid. You’ll want to start dutch braiding as close to your parting as possible, making sure to hold your hair tightly as you work your way down.
 When you reach the nape of your neck you’ll need to secure your braid with an elastic to hold it in place. You can then start pancaking your braid by and pinching and pulling on the hair to make it look thicker.

Once you’ve finished pancaking the hair you can then repeat steps 2-4 on the opposite side.
 Next, take a thin section of hair and wrap it around the base of your braid, you’ll want to finish this by knotting the hair so that it stays in place. Alyson used a hair loop but a bobby pin works just as well to pull the ends of your hair underneath the wrap.
 The next step is to tie another elastic 1 ½ inches down from the end of your braid. You then want to split the section in half and push the end of your ponytail through the middle to create a twisted effect. You can then pinch and pull on the hair to thicken up the look.
 Once you’re done you can then repeat the wrapping step from earlier to cover the elastic using the pull through technique so that it’s really secure.
 You then want to repeat this process creating another loop underneath the first. We created three loops in the hair but it’ll depend on the length of your hair extensions as to how many you can create.
 To finish the hairstyle just repeat the process on the other side.
And you’re done! We love this cowgirl costume and it’s such a fun way to be more creative this Halloween. If you try this look at home be sure to tag us in your pictures on Instagram @milkandblush we love seeing how you recreate our tutorials!