These cookies are required for the website to run and cannot be switched off. Such cookies are only set in response to actions made by you such as language, currency, login session, privacy preferences. You can set your browser to block these cookies but this will prevent the site from functioning correctly.
These cookies allow us to measure visitors traffic and see traffic sources by collecting information in data sets. They also help us understand which products and actions are more popular than others.
These cookies are usually set by our marketing and advertising partners. They may be used by them to build a profile of your interest and later show you relevant ads. If you do not allow these cookies you will not experience targeted ads for your interests.
These cookies enable our website to offer additional functions and personal settings. They can be set by us or by third-party service providers that we have placed on our pages. If you do not allow these cookies, these or some of these services may not work properly.
How to Clip-In Your Hair Extensions: Mastering Perfect Placement
How to Clip-In Your Hair Extensions: Mastering Perfect Placement
How to Clip-In Your Hair Extensions: Mastering Perfect Placement
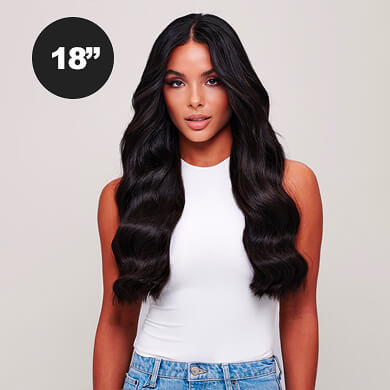
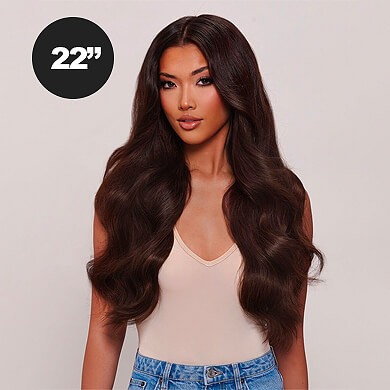
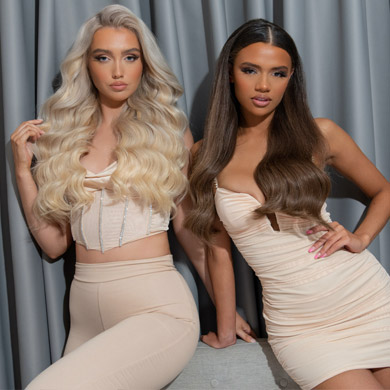
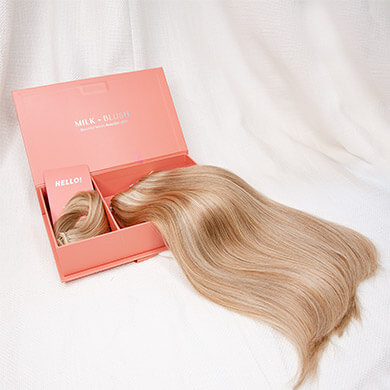
Congratulations on your investment in a set of luxurious human hair extensions! Whether you're aiming for voluminous locks, extra length, or both, clip-in extensions are a game-changer in the world of hair styling. But just like any investment, proper placement is key to achieving a seamless, natural look that lasts all day.
Prepare Your Canvas: Clean and Dry Hair
Before diving into clipping in your extensions, it's essential to start with a clean canvas. Wash and thoroughly dry your natural hair, making sure to remove any excess oils or product buildup. This will ensure that your extensions have a secure grip and blend seamlessly with your own locks.
Sectioning is Key: Part and Prep
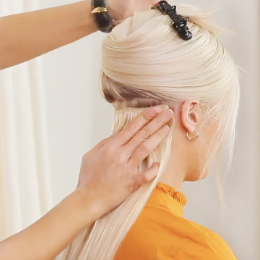
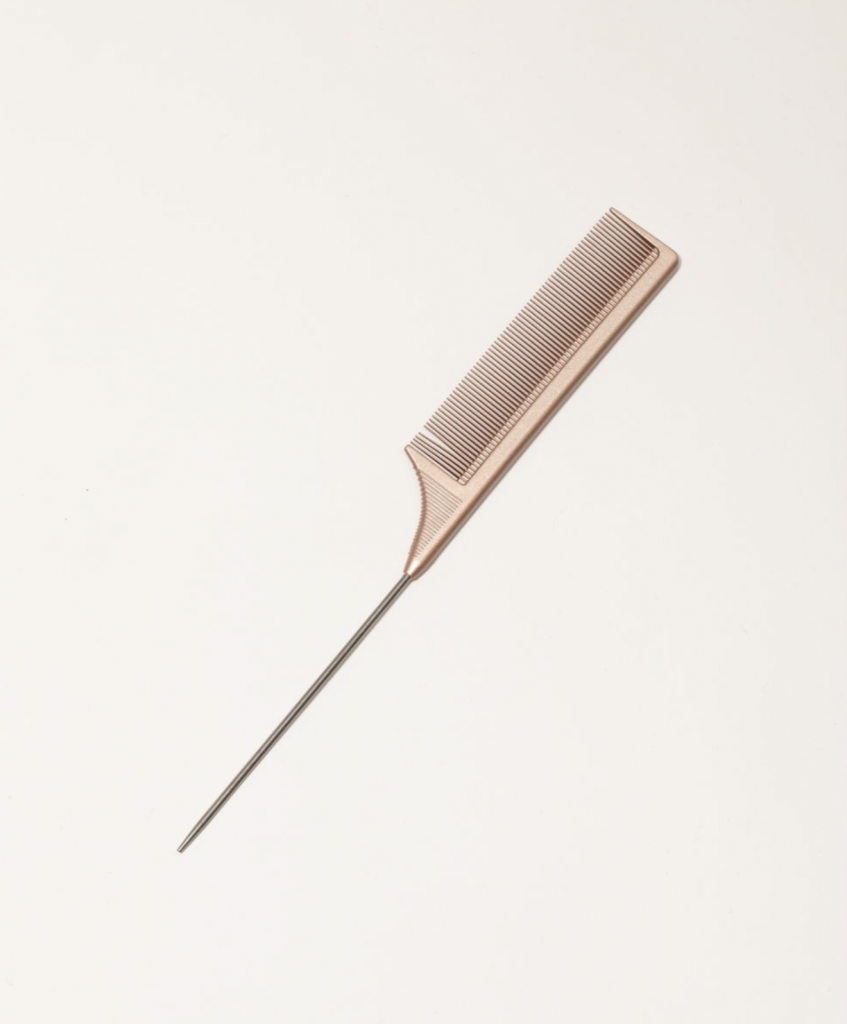
Divide your hair into manageable sections using a rat-tail comb or your fingers. Start by creating a part at the nape of your neck and clip the rest of your hair out of the way. This will make it easier to clip in each weft evenly and strategically.
To ensure a secure hold, gently tease the roots of each section where you'll be clipping in the extensions. This creates texture and grip, preventing the clips from slipping throughout the day. Be careful not to tease too aggressively, as this can cause damage to your natural hair.
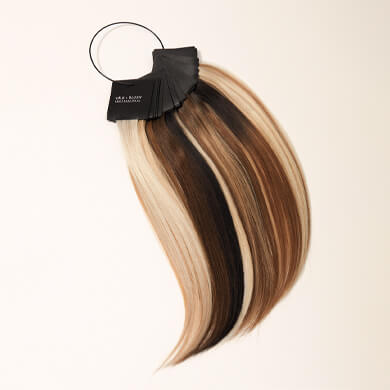
Snap and Secure: Clipping in the Extensions
Now it's time for the main event - clipping in your extensions! Start with the smallest weft and work your way up to the larger pieces for optimal blending. Position the weft along the part line and snap the clips into place, starting from the center and working your way outwards. Make sure to evenly distribute the wefts for a balanced, natural look.
Blend and Style: Seamless Integration
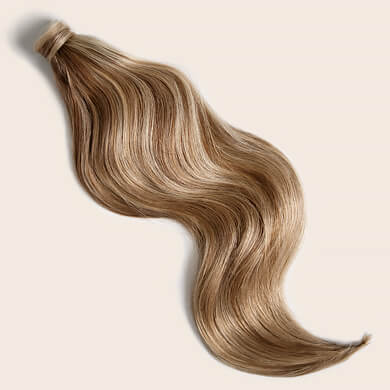
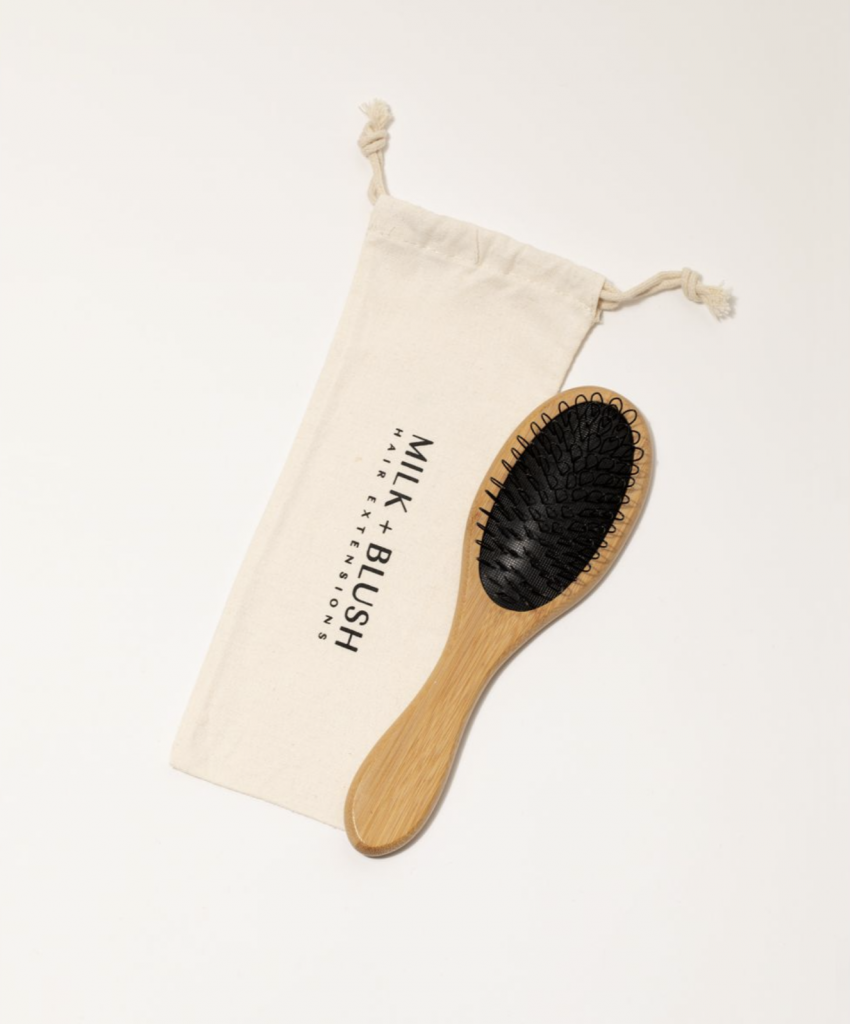
Once all the extensions are clipped in, use a brush or your fingers to blend them seamlessly with your natural hair. Gently comb through the lengths with a loop brush to ensure a smooth transition from roots to ends. You can also use heat styling tools to curl or straighten your extensions for a polished finish. You can style your Milk + Blush extensions up to 180c/365f.
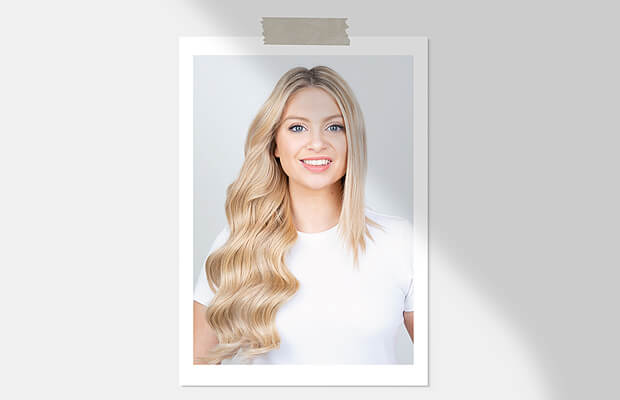
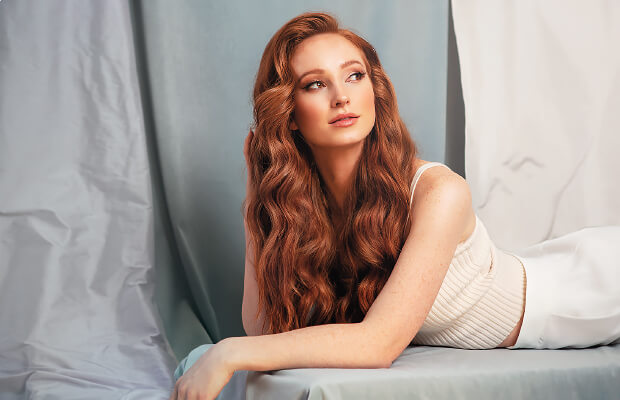
Confidence is Key: Own Your Glamorous New Look
With your extensions securely clipped in and perfectly blended, it's time to flaunt your glamorous new look with confidence! Whether you're heading out for a special occasion or simply embracing everyday glam, your flawlessly placed extensions are sure to turn heads wherever you go.
Mastering the art of clipping in your hair extensions is all about precision, patience, and practice. By following these simple steps and honing your technique, you can achieve a flawless, natural-looking hairstyle that will leave everyone wondering what your secret is. So go ahead, clip in those extensions and unleash your inner glam goddess - the world is your runway!