How To Get Kim Kardashian's Barely There Waves
Written by Shopify API on
Last updated on
Last updated on
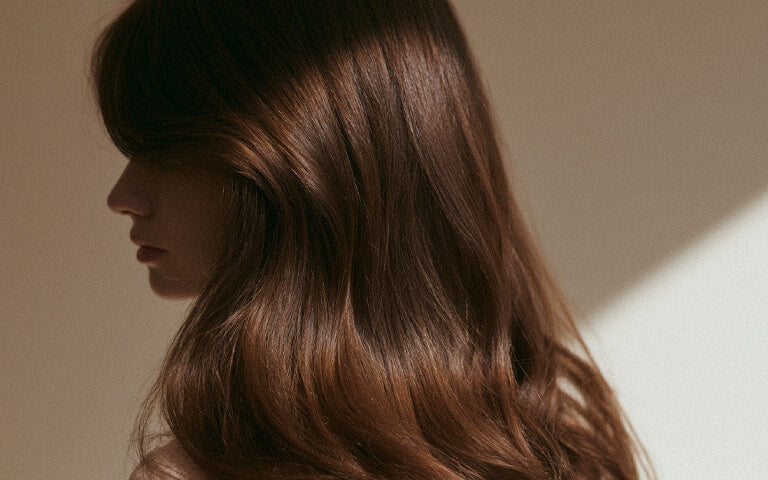
 It’s safe to say Kim K is completely slaying right now and her barely there waves have become her signature look. This week we’re showing you how to get hair just like your fave Kardashian using your Milk + Blush Hair Extensions.
The man behind some of Kim’s best hairstyles including these super cool waves is celeb hairstylist Chris Appleton, one of the most sought after stylists in the industry right now. We’ve recreated the look as per Mr. Appleton's instructions so you guys at home can get the authentic Kardashian look.
It’s safe to say Kim K is completely slaying right now and her barely there waves have become her signature look. This week we’re showing you how to get hair just like your fave Kardashian using your Milk + Blush Hair Extensions.
The man behind some of Kim’s best hairstyles including these super cool waves is celeb hairstylist Chris Appleton, one of the most sought after stylists in the industry right now. We’ve recreated the look as per Mr. Appleton's instructions so you guys at home can get the authentic Kardashian look.

Step 1 - Hide those shorter hairs
As we know, Kim’s hair is naturally quite short so she relies on hair extensions to achieve that Cher worthy length and if you’re also rocking shorter hair this first Chris Appleton hack is for you. To stop any shorter hairs poking out from under all that hair Chris Appleton secures any short hairs around the hairline and the hair at the nape of the neck into super tight braids - genius! The easiest way to do this is to run your index fingers from your temples back and down to the back of your head and clip the top section up hair up out of the way. You can then braid the hair from your temples to the nape of your neck, secure with elastics then pin them up with bobby pins. You can create Dutch or French braids for this just make sure that they’re super tight and secure.
Step 2 - Clip in your extensions
For this look you want loads of length so we recommend opting for the Milk + Blush Deluxe Set in 20-22” or 24-26”. Kim’s hair comes down to between her waist and her hips so to find out which length is best for you take a tape measure and measure from the middle of your ear downwards until you reach where you’d like the hair to end. Mim wears the length 20-22” in the shade Second Base.
Step 3 - Add texture to the roots
Although Kim K’s hair is relatively smooth on top it’s a good idea to add a little texture to the roots for that really undone, messy look. Part your hair in the centre and spray a little texturising spray to the roots of the hair (we used the Toni & Guy Casual Rough Texturiser), this will add a bit of grit to the hair which will give it a little lift and texture.
Step 4 - Prep the lengths of the hair
As this look is very textured and natural looking you want to prep the lengths of the hair with product to change the texture. Chris Appleton’s “secret weapon” is Style on Steroids by Color Wow - a texturizer, performance enhancer, heat protector and finishing spray in one. The stylist says he uses this wonder product on all of this clients when creating these kind of waves - if it’s good enough for the pros it's good enough for us! Before you curl each section of hair simply mist the product over the lengths and you’re good to go.
Step 5 - Time to curl...kind of.
Chris Appleton uses a pretty nifty hack to create those barely there waves and you won’t believe how simple it is. Take your curling wand (we used the GHD Creative Curl Wand as the oval barrel creates a looser wave rather than a curl) and wrap the hair around it half way down the lengths leaving a good few inches out. Now here comes the clever part, instead of holding the wand still, hold the ends of the hair tight and slide the wand up and down the hair a few times before releasing. You’ll be left with a subtle bend in the hair that looks super natural. To make the hair look even more carefree repeat the same technique on the ends of the hair wrapping the hair in the opposite direction than you did to start the wave - so if the start of the curl goes away from the face the end will go towards. Repeat this process throughout the hair alternating the way you curl the sections.
Step 6 - Finish the look
To finish this effortless hairstyle run your fingers through the waves and add a little hair oil to the ends for a more ‘piecey’ undone effect (we used the Tigi S Factor Hair Oil). Who knew a Kardashian hairstyle could be so simple and now you have the celebrity stylist know how to create the look for yourself. We are soooo obsessed with this look and we know you guys are going to love it too. If you recreate this Kim Kardashian look be sure to share a pic on Instagram and tag @milkandblush. Check out the full tutorial below.More articles