These cookies are required for the website to run and cannot be switched off. Such cookies are only set in response to actions made by you such as language, currency, login session, privacy preferences. You can set your browser to block these cookies but this will prevent the site from functioning correctly.
These cookies allow us to measure visitors traffic and see traffic sources by collecting information in data sets. They also help us understand which products and actions are more popular than others.
These cookies are usually set by our marketing and advertising partners. They may be used by them to build a profile of your interest and later show you relevant ads. If you do not allow these cookies you will not experience targeted ads for your interests.
These cookies enable our website to offer additional functions and personal settings. They can be set by us or by third-party service providers that we have placed on our pages. If you do not allow these cookies, these or some of these services may not work properly.
How To: Kim Kardashian's Glass Waves Hair Tutorial
How To: Kim Kardashian's Glass Waves Hair Tutorial
If you haven’t heard of the glass hair trend then literally, where have you been? Everyone from Kim Kardashian to Huda Kattan and JLo have been sporting the super perfected, insanely glossy look and we’re just as obsessed here at M+B.
The trend started with the glass bob but this year it’s all about super long, Hollywood waves instead. To help you guys get the look we’re sharing a super easy, step by step tutorial along with all the products we used to create our glass waves.
What You’ll Need
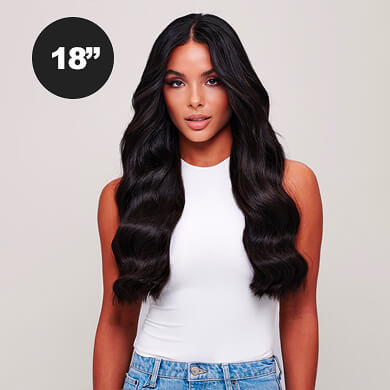
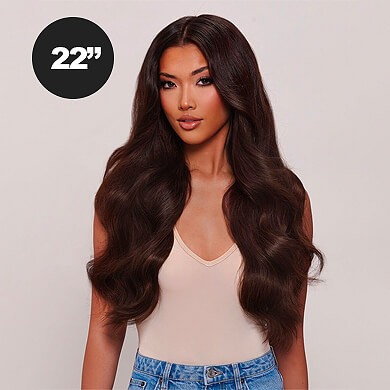
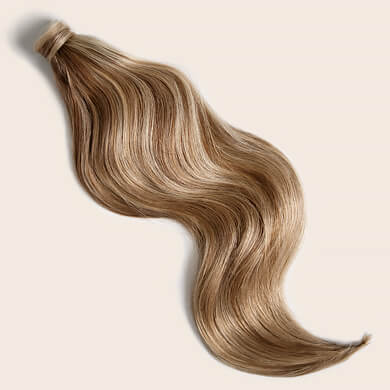
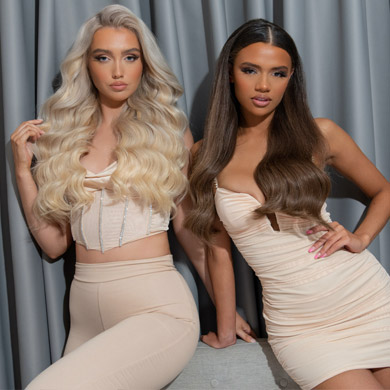
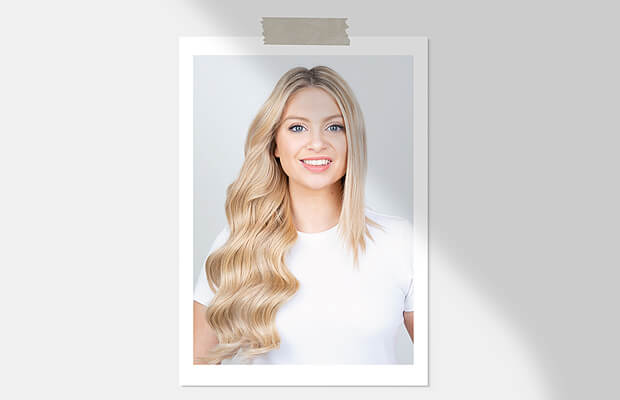
+ Your M+B hair extensions - We used the 24-26” Superior Set in the shade Good Vibes and Fame or Shame to get Leila’s perfect match.
+ Hair mask - We used the Coco & Eve Hair Mask.
+ Comb
+ Section clips
+ Hair Oil - We used the Tigi S Factor True Lasting Colour Hair Oil.
+ Straighteners
+ Curling wand
+ Hair brush
+ Hairspray - We used L’Oreal Elnett.
+ Shine spray - We used the KMS Hair Stay Anti-Humidity Seal.
Step 1
To prep your hair for this look we’d recommend applying a hair mask the night before to nourish your strands. This will make your hair look super glossy and will give you the best base for creating glass hair. We love the Coco & Eve Mask as it’s really nourishing and helps to smooth over any damage.
Step 2
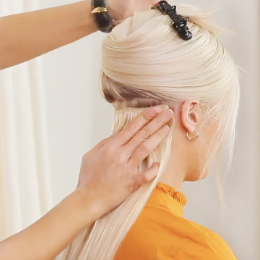
To start the look you want to clip in your M+B hair extensions as normal. We used the 24-26” Superior Set in the shade Good Vibes and Fame or Shame to get Leila’s perfect match.
Once your set is clipped in you can then apply some oil to add loads of shine. Work this in from your mid lengths to ends and work down the hair to smooth any flyaways.
Step 4
Next you want to straighten your hair along with the wefts to get a perfect blend. As we’re using a really long set this is extra important in getting the ends of your natural hair to seamlessly blend into the extensions. Straightening the hair will also help to seal in the moisture from the oil to make your hair look extra shiny. This is super important for creating the glass hair finish!
Step 5
Once all your hair is done you’re ready to start the curls. We used a 32mm barrel to create these curls and worked in small sections starting at the nape of the neck. You want the hair to lie flat on the barrel so that the heat is evenly distributed and hold it on for 10 seconds or until your hair feels hot. You also want to take the curls as close to the ends of your hair as possible and take even sections to keep them uniform.
Step 6
When you take your hair off the barrel you want to hold it in your hand and gently drop it down rather than pulling it so that you don’t stretch the curl. To achieve the vintage style waves you also want to curl all of your hair in the same direction going away from your face on the fuller side.
Step 7
For the side fringe section you want to curl this away from your face too while holding the barrel above your head. This will help to lift the root and create loads of volume. This is a vintage hairstyling hack that’s super important for achieving the look. Once you’ve curled this section just roll it up and pin it in place so that it can cool. This will help the front of your hair to hold its volume, creating that classic, pin-up style wave.
Step 8
After leaving your hair to cool you want to take a hairbrush and spray it with hairspray so that you can loosen up the waves. This is really important for achieving the glass hair look as spraying hairspray directly onto your hair will set in flyaways and it won’t look as shiny. You want to start by brushing out the curls from the end up and then twist each section to help mould it into shape. You might be super scared to brush out your curls but we promise they won’t drop and you’ll need to brush them a lot to achieve the finished look.
Step 9
Once you’ve brushed out the lengths of your hair you can then take out the fringe section and brush it using the same process. Keep brushing this until it seamlessly transitions into the rest of your hair.
Step 10
When all your hair is brushed out you can then use a spray to add loads of shine. We went for the KMS Hair Stay Anti Humidity Seal which adds loads of shine and will protect your style so that it stays in place. You want to be really generous with this so make sure you’ve fully coated your strands until they look extra glossy.
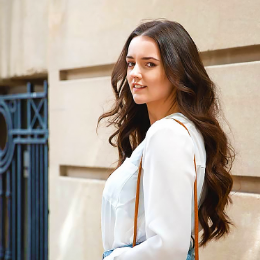
And that’s the finished look! It’s so glossy, looks super shiny and is giving us all the Kim K vibes. If you need some more help creating the glass waves look we’ve popped our video tutorial below which is really easy to follow :)