How To Make Your Hair Look Good In Selfies
Written by Shopify API on
Last updated on
Last updated on
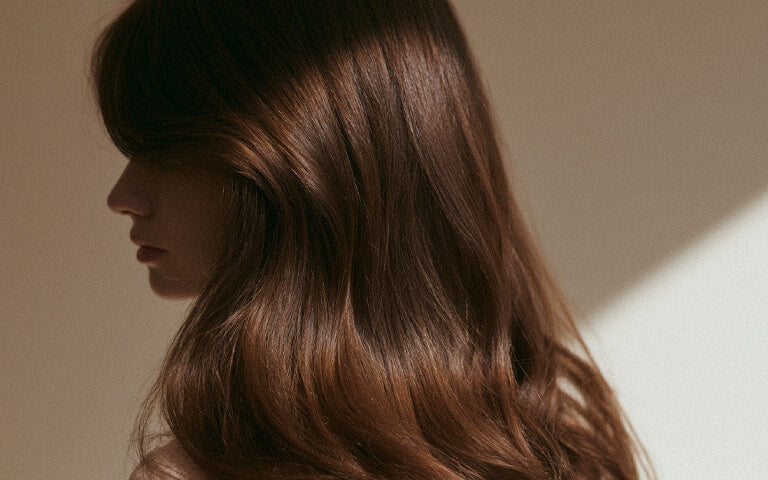
 Happy National Selfie Day! Yes M+B babes that’s actually a thing and we’re totally embracing it with some quick tips for insta worthy hair. Whether you’re taking a snap on your way out or plan full productions for your social media pics, it’s super important that your hair looks its best. Especially as editing it afterwards is so impossible! Here’s what you need to do...

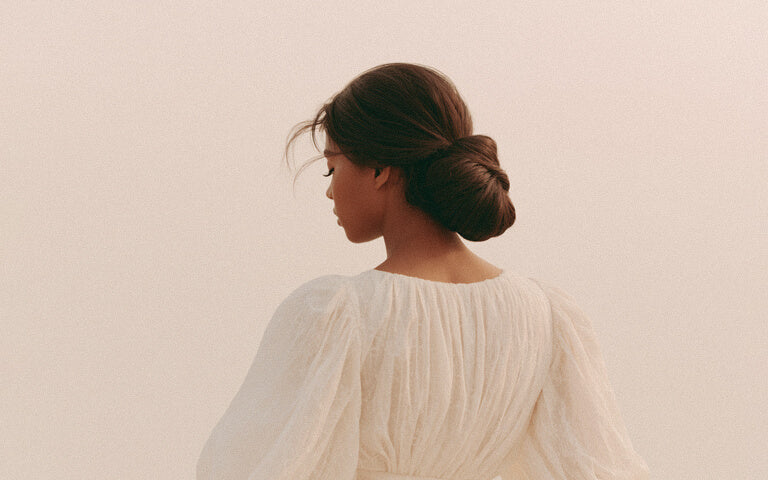
Step 1: Bring All Your Hair To The Front
You want your hair to look as thick as possible in your pic so make sure you bring it all forward from the back. It’s up to you whether you want to part it and have some on either side or if you’d rather it on just one side, but either way you don’t want any hiding in the back.
Step 2: Brush It
Knots and flyaways will make your hair look really dull so by brushing it and getting a smooth surface it’ll appear way shinier in your pics. You want to do this with a loop brush, as it’s really gentle after spraying the bristles with some hairspray to help tame any flyaways. It might be a good shout to use the toothbrush hack on the top of your hair too for a really perfected look.
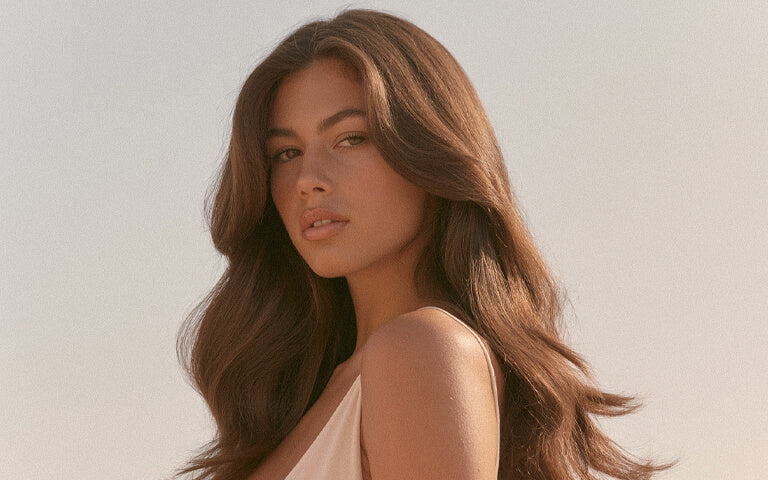
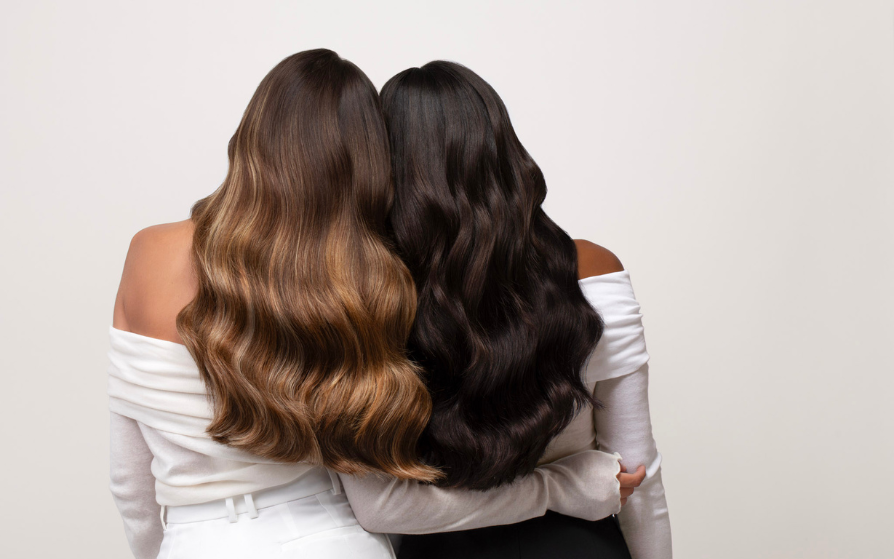
Step 3: Layer On The Shine Spray
Shine spray will coat your hair and make it look insanely glossy and healthy so it’s perfect for taking pictures. It’s especially good for waves or super sleek hair and will help to mask dry and split ends in pictures if you’ve skipped a haircut. One of our favourites is the Awapuhi Shine Spray which is made with organic ginger and really reflects the light.
Step 4: Thicken Up Your Hairline
This is a hack that celebrities use all the time when they’re hitting the red carpet and it’ll help to make your hair look a lot thicker in photographs. All you need to do is fill in your hairline and parting with some eyeshadow or root touch up to give you the appearance of thicker hair. Our favourite product for this is the Color Wow Root Cover Up which comes in 8 different colours and is really pigmented so it’s easy to apply.
Step 5: Find The Right Lighting
It’s best to stand facing a window or even better take your snaps outside to make sure you get the best light. This is super important because if it’s behind you it can highlight your flyaways and make your hair look super messy. If it’s too dark or too bright it won’t do your hair any justice either. You want the light to be even, so avoid any shadows and don’t stand in direct sunlight as it will be way too bright. You also want to make sure you’ve set your camera or phone to the right exposure so you get the highest quality picture.
Step 6: Flip It
Right before you take the pic it’s a great shout to flip your hair upside down and then back up for a quick injection of volume. This is such a quick hack and it’s perfect if you have fine hair that’s a little lacklustre.
Step 7: Find The Best Angle
Holding your phone slightly above your face tends to be the most flattering angle and will help to make your hair look thicker than if you hold the camera at eye level. If you struggle to take pictures of yourself then it’s a way better shout to ask someone to snap them for you so that you get more angles. Don’t forget to take as many as possible too so that you have loads to choose from!
Step 8: Do The Tilt
Tilting your head to the side will make your hair look way thicker and longer, especially if it’s short! Just tilt it and then take the snap on the side where your hair looks bigger to nail this hack. Selfie ready? Thought so! With these quick tips you’ll be getting all the likes. Just make sure to tag us @milkandblush :)More articles