Tutorial: How To Clip In Our Deluxe Set Hair Extensions
Written by Shopify API on
Last updated on
Last updated on
 You guys ask us so many questions about clipping in your hair extensions and we totally get that if you’re new to clip-ins it can be a little daunting. Knowing the order you need to clip them in and how to secure the clips is super important but once you get it down it’s really easy. To help you guys out we’re going to give you a step by step for each of our four sets so that you can get a totally seamless blend.
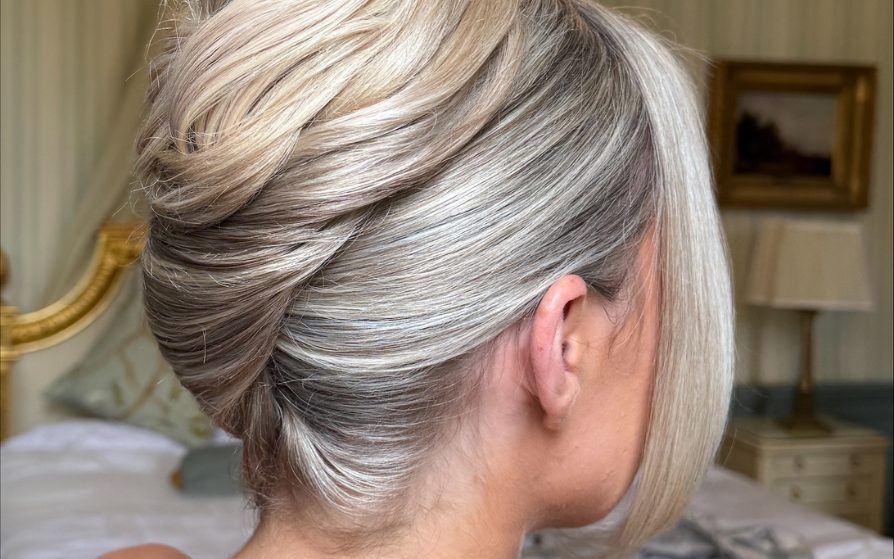
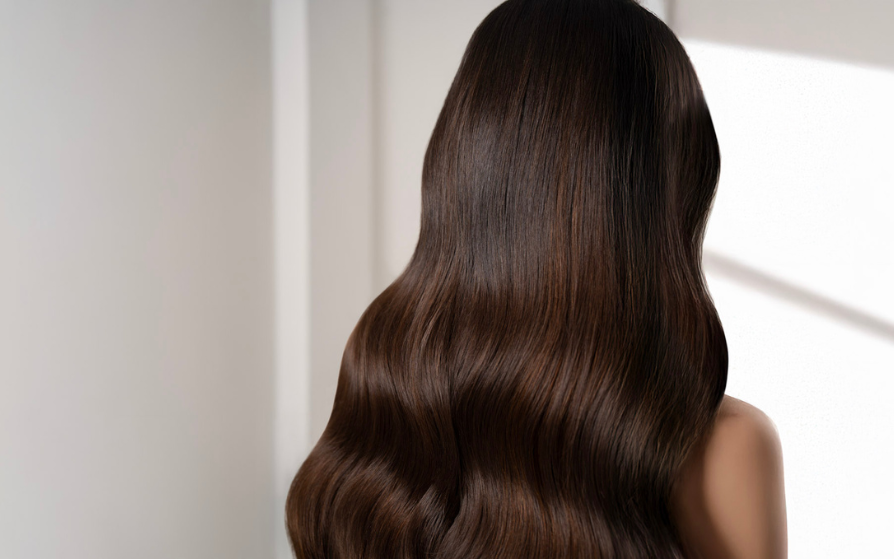
 Today we’re showing you how to clip in our Deluxe Set which is the only seamless set in our collection. The wefts are made by bonding the hair in silicone so they lay flat to your head and are very lightweight. This makes them really easy to conceal and perfect for anyone with fine hair. There are nine seamless wefts in the Deluxe Set and one lace Volumizer weft to add loads of thickness and volume.
Need some more info on the seamless wefts? Click here for everything you need to know about seamless hair extensions.
Today we’re showing you how to clip in our Deluxe Set which is the only seamless set in our collection. The wefts are made by bonding the hair in silicone so they lay flat to your head and are very lightweight. This makes them really easy to conceal and perfect for anyone with fine hair. There are nine seamless wefts in the Deluxe Set and one lace Volumizer weft to add loads of thickness and volume.
Need some more info on the seamless wefts? Click here for everything you need to know about seamless hair extensions.

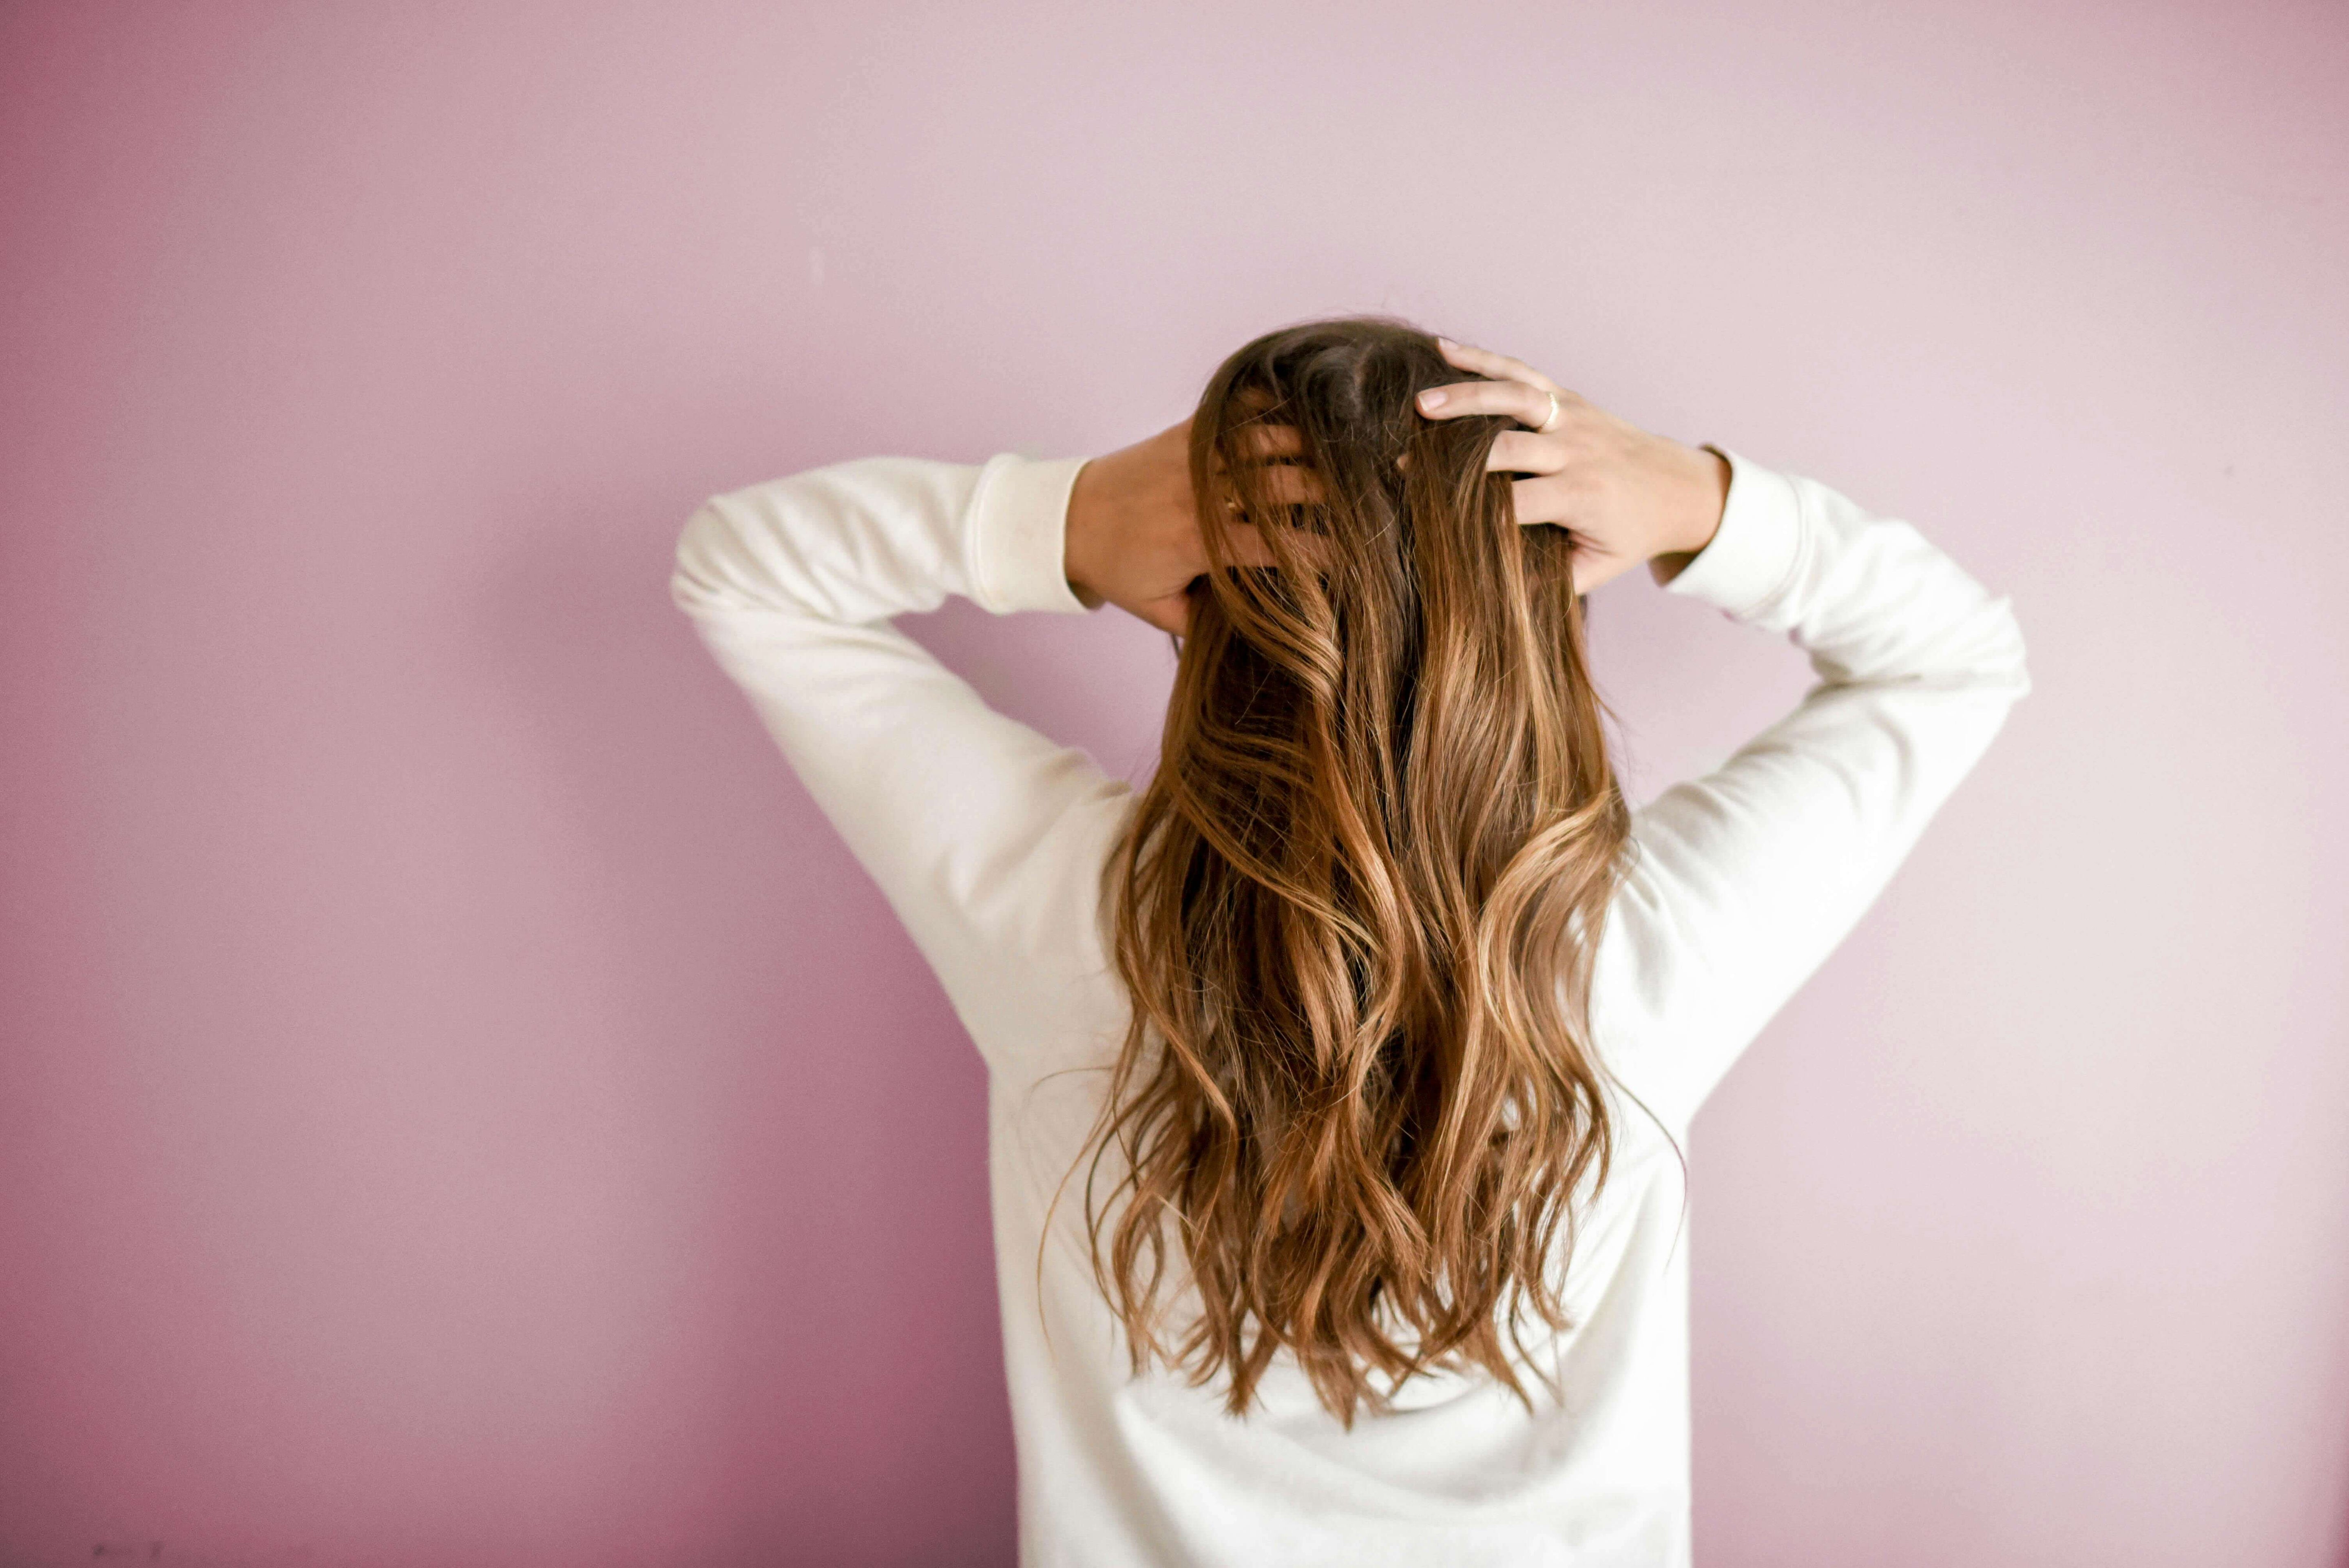
 Who would the Deluxe Set work for? This is the perfect set for anyone with fine to normal hair as the seamless wefts are really lightweight and virtually undetectable. It’s also a good option if you like creating sleek looks as the wefts lay flat to your head so you can get a super smooth finish.
How To Clip In The Milk + Blush Deluxe Set
If you’ve never clipped in hair extensions before or if you need to refresh your memory then these steps are going to really help you out. We’d recommend bookmarking this page too so that you have something to refer back to until you totally get the hang of it.
Step 1
Start by clipping up a section of hair at the nape of your neck. You can braid or twist this up and then secure it in place with bobby pins. Doing this will help to hide the disconnect between the length of your natural hair and the extensions to give you a more natural finish.Step 2
You want to start by clipping in a 2 clip weft at the nape of your neck. You can clip this over the section you’ve pinned up so that it’s really secure.
Step 3
Next, take another section just above the first and gently backcomb the hair before clipping in a 3 clip weft.
 Step 4
You’ll need to section your hair at the widest point on your head for the next piece, so aim for mid-ear level. Once you’re done, backcomb the section before clipping in your 4 clip Volumizer weft.
Step 5
Above your Volumizer weft take another section, backcomb the hair and clip in your other 3 clip weft.
Step 6
Take a section of hair on the right-hand side of your head and tilt the section going upwards towards your face. Gently backcomb the hair and then clip in a two clip weft along the same line. This will angle the hair towards your face to give you a more natural blend.Step 7
You then want to repeat the same process and clip another two clip weft just above the first.Step 8
Next, take a section above your last 2 clip weft and clip in your 1 clip weft to seamlessly blend the hair around your face.
 Step 9
Once you’re done repeat the 1 and 2 clip wefts on the left-hand side.

Step 10
Once all your wefts are clipped in, gently smooth your hands down your head to check for any lumps or bumps. If you can feel the clips or if there’s anything poking out you’ll need to take out the weft and clip it in again or position it lower down on your head.Available Lengths
12-14” 150g 16-18” 160g 20-22” 180g 24-26” 180gWefts
1-clip weft x 2 2-clip weft x 5 3-clip weft x 2 4-clip quad weft x 1 Need some more advice? If you’re not sure what set or shade to go for or if you’d like some more advice on clipping in your set then get in touch with the team hello@milkandblush.com.More articles