Tried & Tested: Olaplex No.3 Review
Written by Shopify API on
Last updated on
Last updated on
 Here at M+B we’re pretty obsessed with hair care so it figures that as a team we try out a lot of new products. To make us feel better about our groaning bathroom cabinets we thought it would be cool to share some of the things we’ve found as part of a new series. We’re calling it Tried & Tested and the plan is to give you honest reviews on some of the weirdest and most hyped products out there.
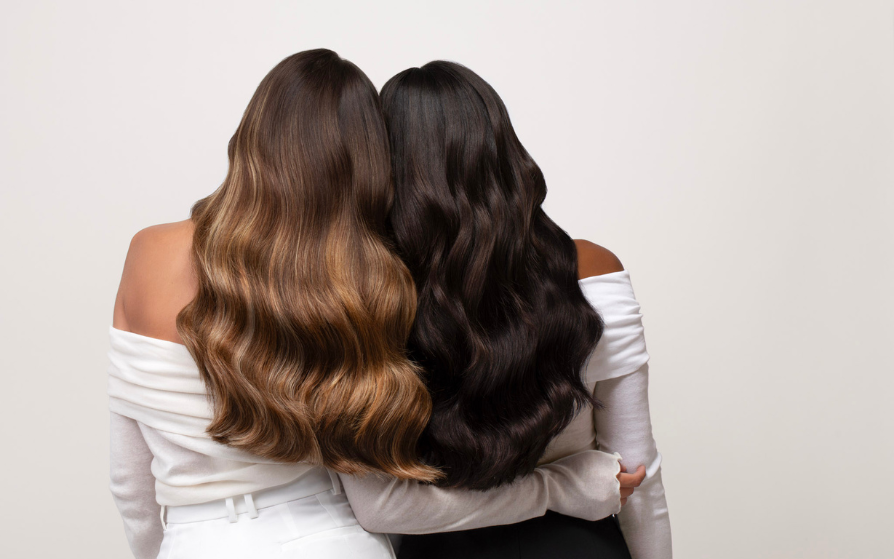
This month we’re trying out Olaplex No.3 which is the third, at home step of the cult salon treatment. Olaplex is one of the best treatments for avoiding damage when dying or bleaching your hair, so its obviously become a must for gals who love to switch up their colour.
Here at M+B we’re pretty obsessed with hair care so it figures that as a team we try out a lot of new products. To make us feel better about our groaning bathroom cabinets we thought it would be cool to share some of the things we’ve found as part of a new series. We’re calling it Tried & Tested and the plan is to give you honest reviews on some of the weirdest and most hyped products out there.
This month we’re trying out Olaplex No.3 which is the third, at home step of the cult salon treatment. Olaplex is one of the best treatments for avoiding damage when dying or bleaching your hair, so its obviously become a must for gals who love to switch up their colour.
What is it?
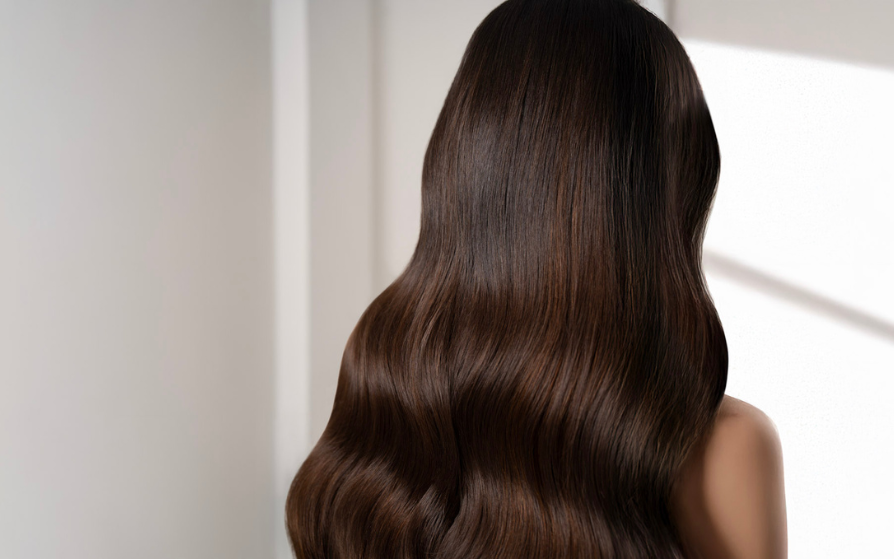
Olaplex No.3 is the third step in the salon treatment that you can use at home. It’s not a hair mask but a rebuilding treatment that helps to strengthen the protein bonds in your hair. It’s perfect if you use lots of bleach or if your strands are damaged as it'll help to repair and protect them in between your salon treatments. If you're super intrigued we've got a blog post on Olaplex No.3 here you should really check out.How much does it cost?
£24How do you use it?
As this product is slightly different we thought we’d give you guys a step by step tutorial on applying it, in case you wanted to try it out at home. We used this as a quick treatment but you can leave it on overnight if you want even better results.
STEP 1
Start by pouring some of the product into your hands and then gently work it into your hair.
STEP 2
Unlike a regular hair mask you need to apply the product from your roots to your ends to get the most out of the treatment. You also want to make sure that all of your hair is totally saturated before you leave it to work its magic.
STEP 3
We thought we’d take a quick snap of the bottle once we’d covered all of the hair to show you how much product we used for one treatment. Esme has super long hair so if yours is shorter then you’ll obviously use even less, but we think you’d be able to get at least 4 treatments out of one bottle.
STEP 4
Before leaving the treatment to work use a tangle teaser to gently spread the product over your strands. This will ensure you have a totally even coverage and will give you the best results.
STEP 5
Once your treatment is done you can then wash your hair as normal using your regular shampoo and conditioner. We love the Tigi S-Factor Health Factor shampoo and conditioner as they’re also great at strengthening and repairing damaged hair.
STEP 6
Once you’re done you can then blow dry your hair as normal. For a quick tutorial on getting the best at home blow dry click here.
What Esme thought...
As someone who highlights their hair, I was really excited to try this treatment as I've heard so many good things and anything to help keep my hair as healthy as possible is very welcome. As it's a treatment it's actually applied to damp hair before shampoo and conditioner so make sure to use it at the right stage in your hair routine! The bottle is quite small, and it's advised to apply the treatment all over the hair including the roots right to the ends, and as I have quite long hair I thought I'd end up using most of the bottle if not all of it in one session, making it a rather pricey, but to my surprise I only needed to use about a third of the bottle and my hair was completely saturated. The smell is quite a salon-y type smell which I find really nice and so it's easy to leave it on your hair for 10-15 minutes without too much trouble. When I washed it out and followed with my usual shampoo and conditioner my hair was so silky and smooth and it had really calmed down a lot of frizz. Usually after blow drying I always have to run my straighteners through my hair in order to tame the frizz but not this time! I was also a bit worried about applying such a moisturising and hydrating treatment to the roots of my hair, as I thought it might leave them greasy, but it didn't at all, it hadn't weighed down my hair and it just felt really healthy from the inside out. Don't expect this treatment to leave your hair feeling like it does after a hair mask, but if you bleach/colour your hair regularly and worry about the toll it's taking on your hair, then I'd definitely advise grabbing a bottle of this. It should last you about 3 treatments or more of your hair is shorter, and you could probably use it once a month and feel the benefit.
What Gareth thought…
I have recently had my dark brown hair bleached and am now rocking silver. I was a little worried before taking the plunge and having my hair bleached so I was keen to try this product as I’ve heard so much hype around it. As I have short hair, I only needed to use a small amount and left it in my hair for around 15 minutes before washing and conditioning my hair like normal. After hearing all of the hype around this product I was hoping I would see some incredible results, but sadly I didn’t notice much of a difference. I’m not sure if this is the type of product that you need to keep using to see the results, so I think I’ll carry on using it a few times and I may even try leaving it overnight too. Overall, I wasn’t sold on this but I’m still going to keep using it to see if it will change my thoughts on whether or not it helped my hair out. Love Tried & Tested? Click here for moreMore articles